


Here's regular chain:
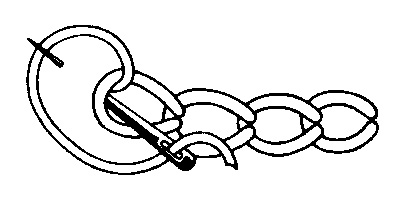
And here's the twisted variation. Can you see the difference?
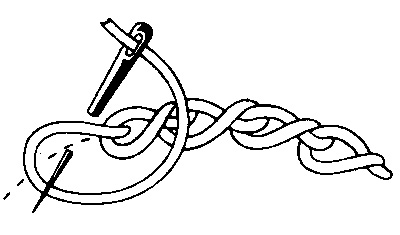
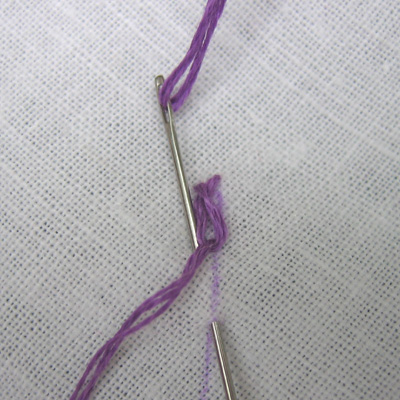
Begin as you would for chain stitch by bringing your thread to the front. Now, instead of inserting your needle into the same hole where your thread emerged, insert it slightly to the left. Take a small slanting stitch and come up on the drawn line. Your thread loops over and then under the needle.
Pull the thread through until it tightens and the loop rests on the emerging thread. This is the first link in the chain.
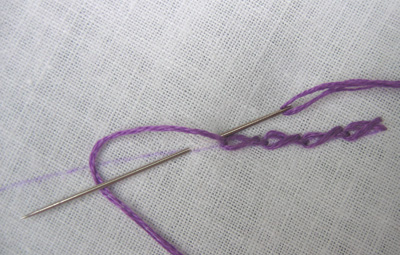
To begin the second link, take the needle from just outside the loop down to the drawn line. Again, keep your thread under the needle or it won't twist. With regular chain stitch you would take your needle down inside the loop not outside of it—that's the difference.
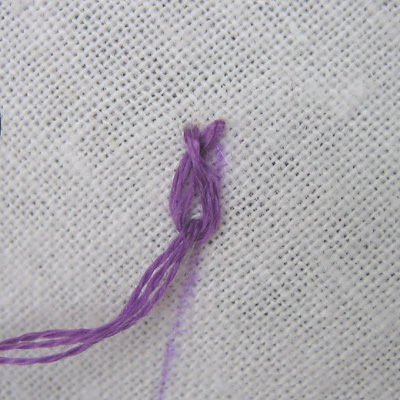
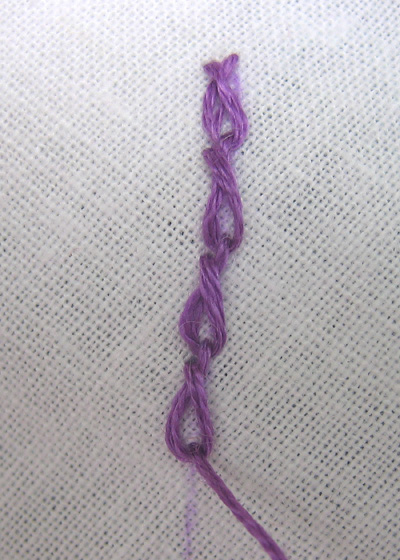
Continue making links in the chain and when you come to the end take a small stitch to tack the last loop down.
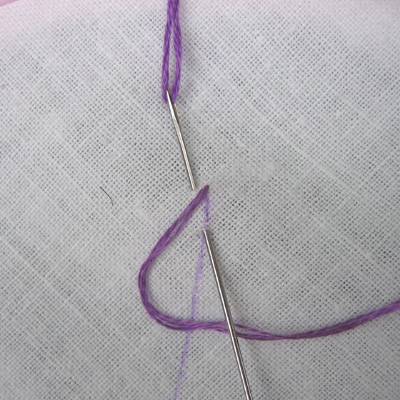
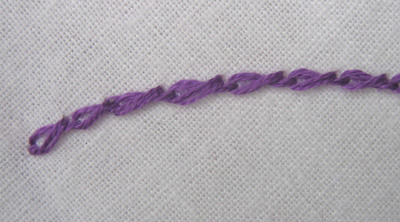
Here's a side view. Remember that it's OK to hold your work in any direction that works for you. I started this working top to bottom like it was shown in my book but quickly switched to working from right to left. Much easier.
The finished twisted chain:
There are quite a few chain stitch variations so I'll probably show you more in the future.

No comments:
Post a Comment